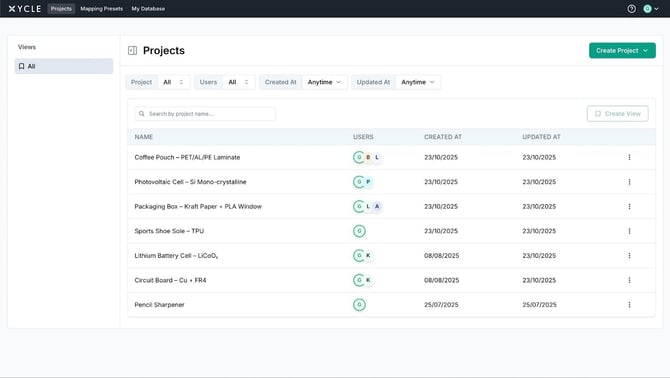
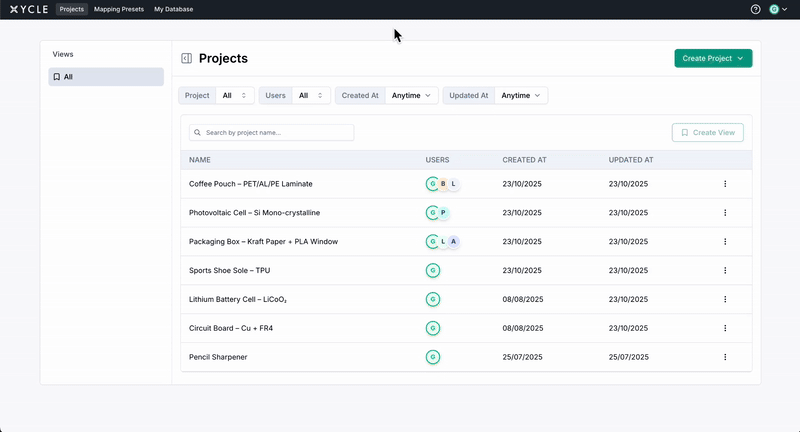
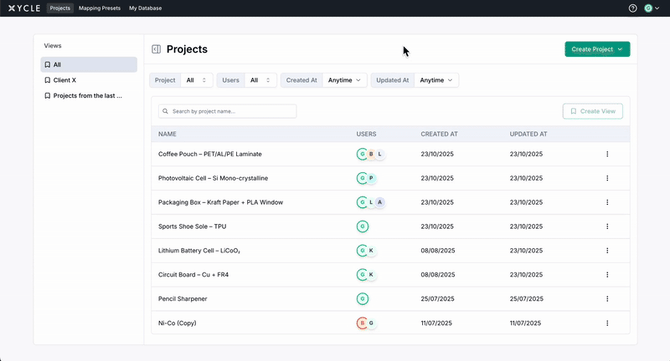
As your projects page grows with projects created by you or shared with you, the main table can become difficult to navigate, views help you organise and focus on relevant information by enabling you to save custom filter combinations for quick access and to keep data private when needed.
What are views?
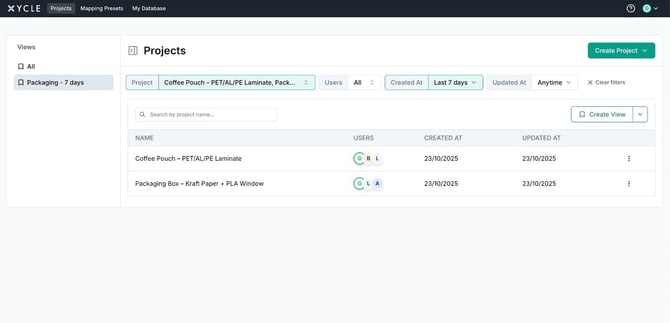
A view is a saved combination of filters and/or keywords from a search query that allows you to focus on specific subsets of your projects. For example, you might create a "Client X" view to display only projects for a particular client, or a "Packaging + 7 days" view to monitor recent packaging-related projects created or updated within the past 7 days.
Saved views are personal to your account, and not visible across your team. When new projects are created that match a view's filter criteria, they will automatically appear in that view.
What you can do with views?
- Create custom views
Save any combination of filters as a named view. Filter options include:- Specific projects
- Team members or assignees
- Date ranges (created date, updated date)
- Any combination of these criteria
- Quick switching
Toggle between views instantly to adjust your data perspective without manually reconfiguring filters. - Maintain client confidentiality
When screen sharing or presenting, quickly switch to a view that displays only relevant projects, ensuring other clients' data remains private.
- Update views
Modify filter criteria and save changes to existing views.
- Rename views
Assign meaningful names to your views that align with your workflow. - Delete views
Remove views that are no longer needed. This only deletes the saved filter combination, not any actual projects.
How to create a view
- Apply your desired filters
Apply your desired filters using the Filters panel to show only the projects you want to include in this view.
- Click the "Save as view" button in the views section
- Enter a name
For your view (for example,"Packaging - 7 days")
- Click Save
Your view will now appear in the views list.
How to load and use a view
Click on any saved view name from the views list. The table will immediately update to display only items matching that view's filter combination.
How to update a view
- Load the view
Click on the view name on the sidebar. - Adjust the filters
Update the filters according to your new criteria. - Click the "Update view" button
The view will be updated with your new filter settings.
How to rename a view
- Locate the view you wish to rename in the views list.
- Click on the action button next to the view name and select the "Rename" option.
- Enter the new name and confirm.
- Your view retains all filter settings, only the name is modified.
How to delete a view
- Click the delete icon next to the view you wish to remove.
- Confirm the deletion on the confirmation pop-up.
Important: Deleting a view only removes the saved filter combination. It does not delete any projects, activities, or data displayed in that view. Your project data remains entirely intact, you are only removing the saved filter preset.
Example Workflow
Consider a scenario where you are working with multiple clients and need to maintain organised and confidential data access:
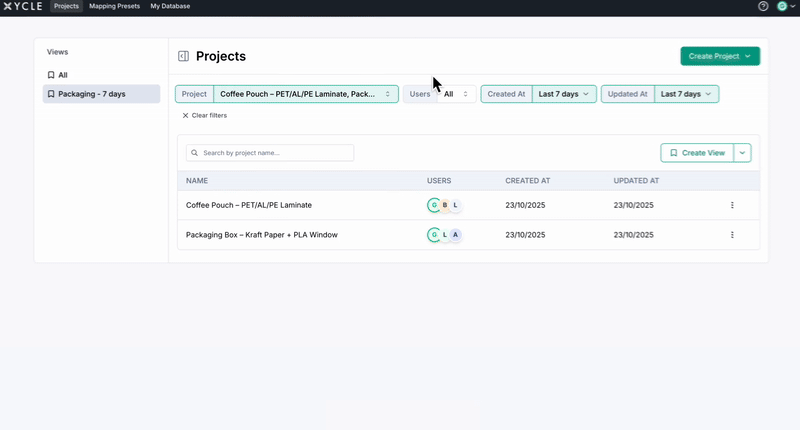
- Create a "Packaging - 7 days" view:
- Filter to display only packaging-related projects.
- Set the date range to show projects updated within the last 7 days.
- Save as "Packaging - 7 days"
- Create a "Client X" view:
- Filter to display only projects associated with a user email.
- Filter by specific team members or project tags relevant to this client.
- Save as "Client X".
- Future projects where that user is assigned will automatically appear in this view.
- Switch between views during screen sharing:

- Before joining a client call, select their dedicated view.
- Only relevant projects appear in your table.
- Collapse the views sidebar and other clients' data remains private and concealed.
- Update a view when criteria change:
- Load "Packaging - 7 days".
- Expand the date range to 14 days or apply additional filters.
- Click "Update view" to save the modifications.
This approach streamlines your workflow, maintains organisation as your project list grows, and ensures client confidentiality during presentations and collaborative sessions.